Recent Changes - Search:

radlab home

radlab support

generic HFDR

principles
hardware
software
production
documents
pictures

know-how

projects

CNMI-Guam
IFREMER
ISMER
PACIOOS
UABC
UHHilo
UP-MSI
WHOI

old projects

MEC
OGS
UAF

wiki instructions

.

TX Assembly

(translated from Spanish original)

  • to assemble the traco on the DIN rail it is necessary with a saw blade to deepen the black tab in the holder so that it connects correctly with the metal DIN rail.

The shortest power cable is for the TX (PA) and the longest for the RX).

  • Traco 230v.

648/5000

  • The cable of pIn the chassis is going to put the plate with the connectors first (looking at the plate from above going 2 black plugs from the upper left corner then 2 gray and then 2 black, in the bottom row the first is a connector type sma N, then the lightning rod, black plug, symmetrical screw, power, black plug). before putting the connector that is symmetrical (barrel type M) you have to enlarge the hole where it goes as it was done in the connector plate of the rx. In the holes of the screws that connect the plate with the chassis, blue glue is placed. The shortest is for the TX (PA) and the longest for the RX).

The tomco will be installed on a plate that has 4 holes where the heat pipes go, white glue is spread on the plate to put the heat tubes first and then on the base of the tomco to install it on the plate. To screw the tomco we need M4 screws. (Long it is top, the tip of the heat tube goes up, where there is plenty of space and the tomp connector should go to that side). Clean the excess of white glue with petroleum distillate and install that plate in the chassis and clean the excess again.Put the earth of the tomco after installing it in the chassis.
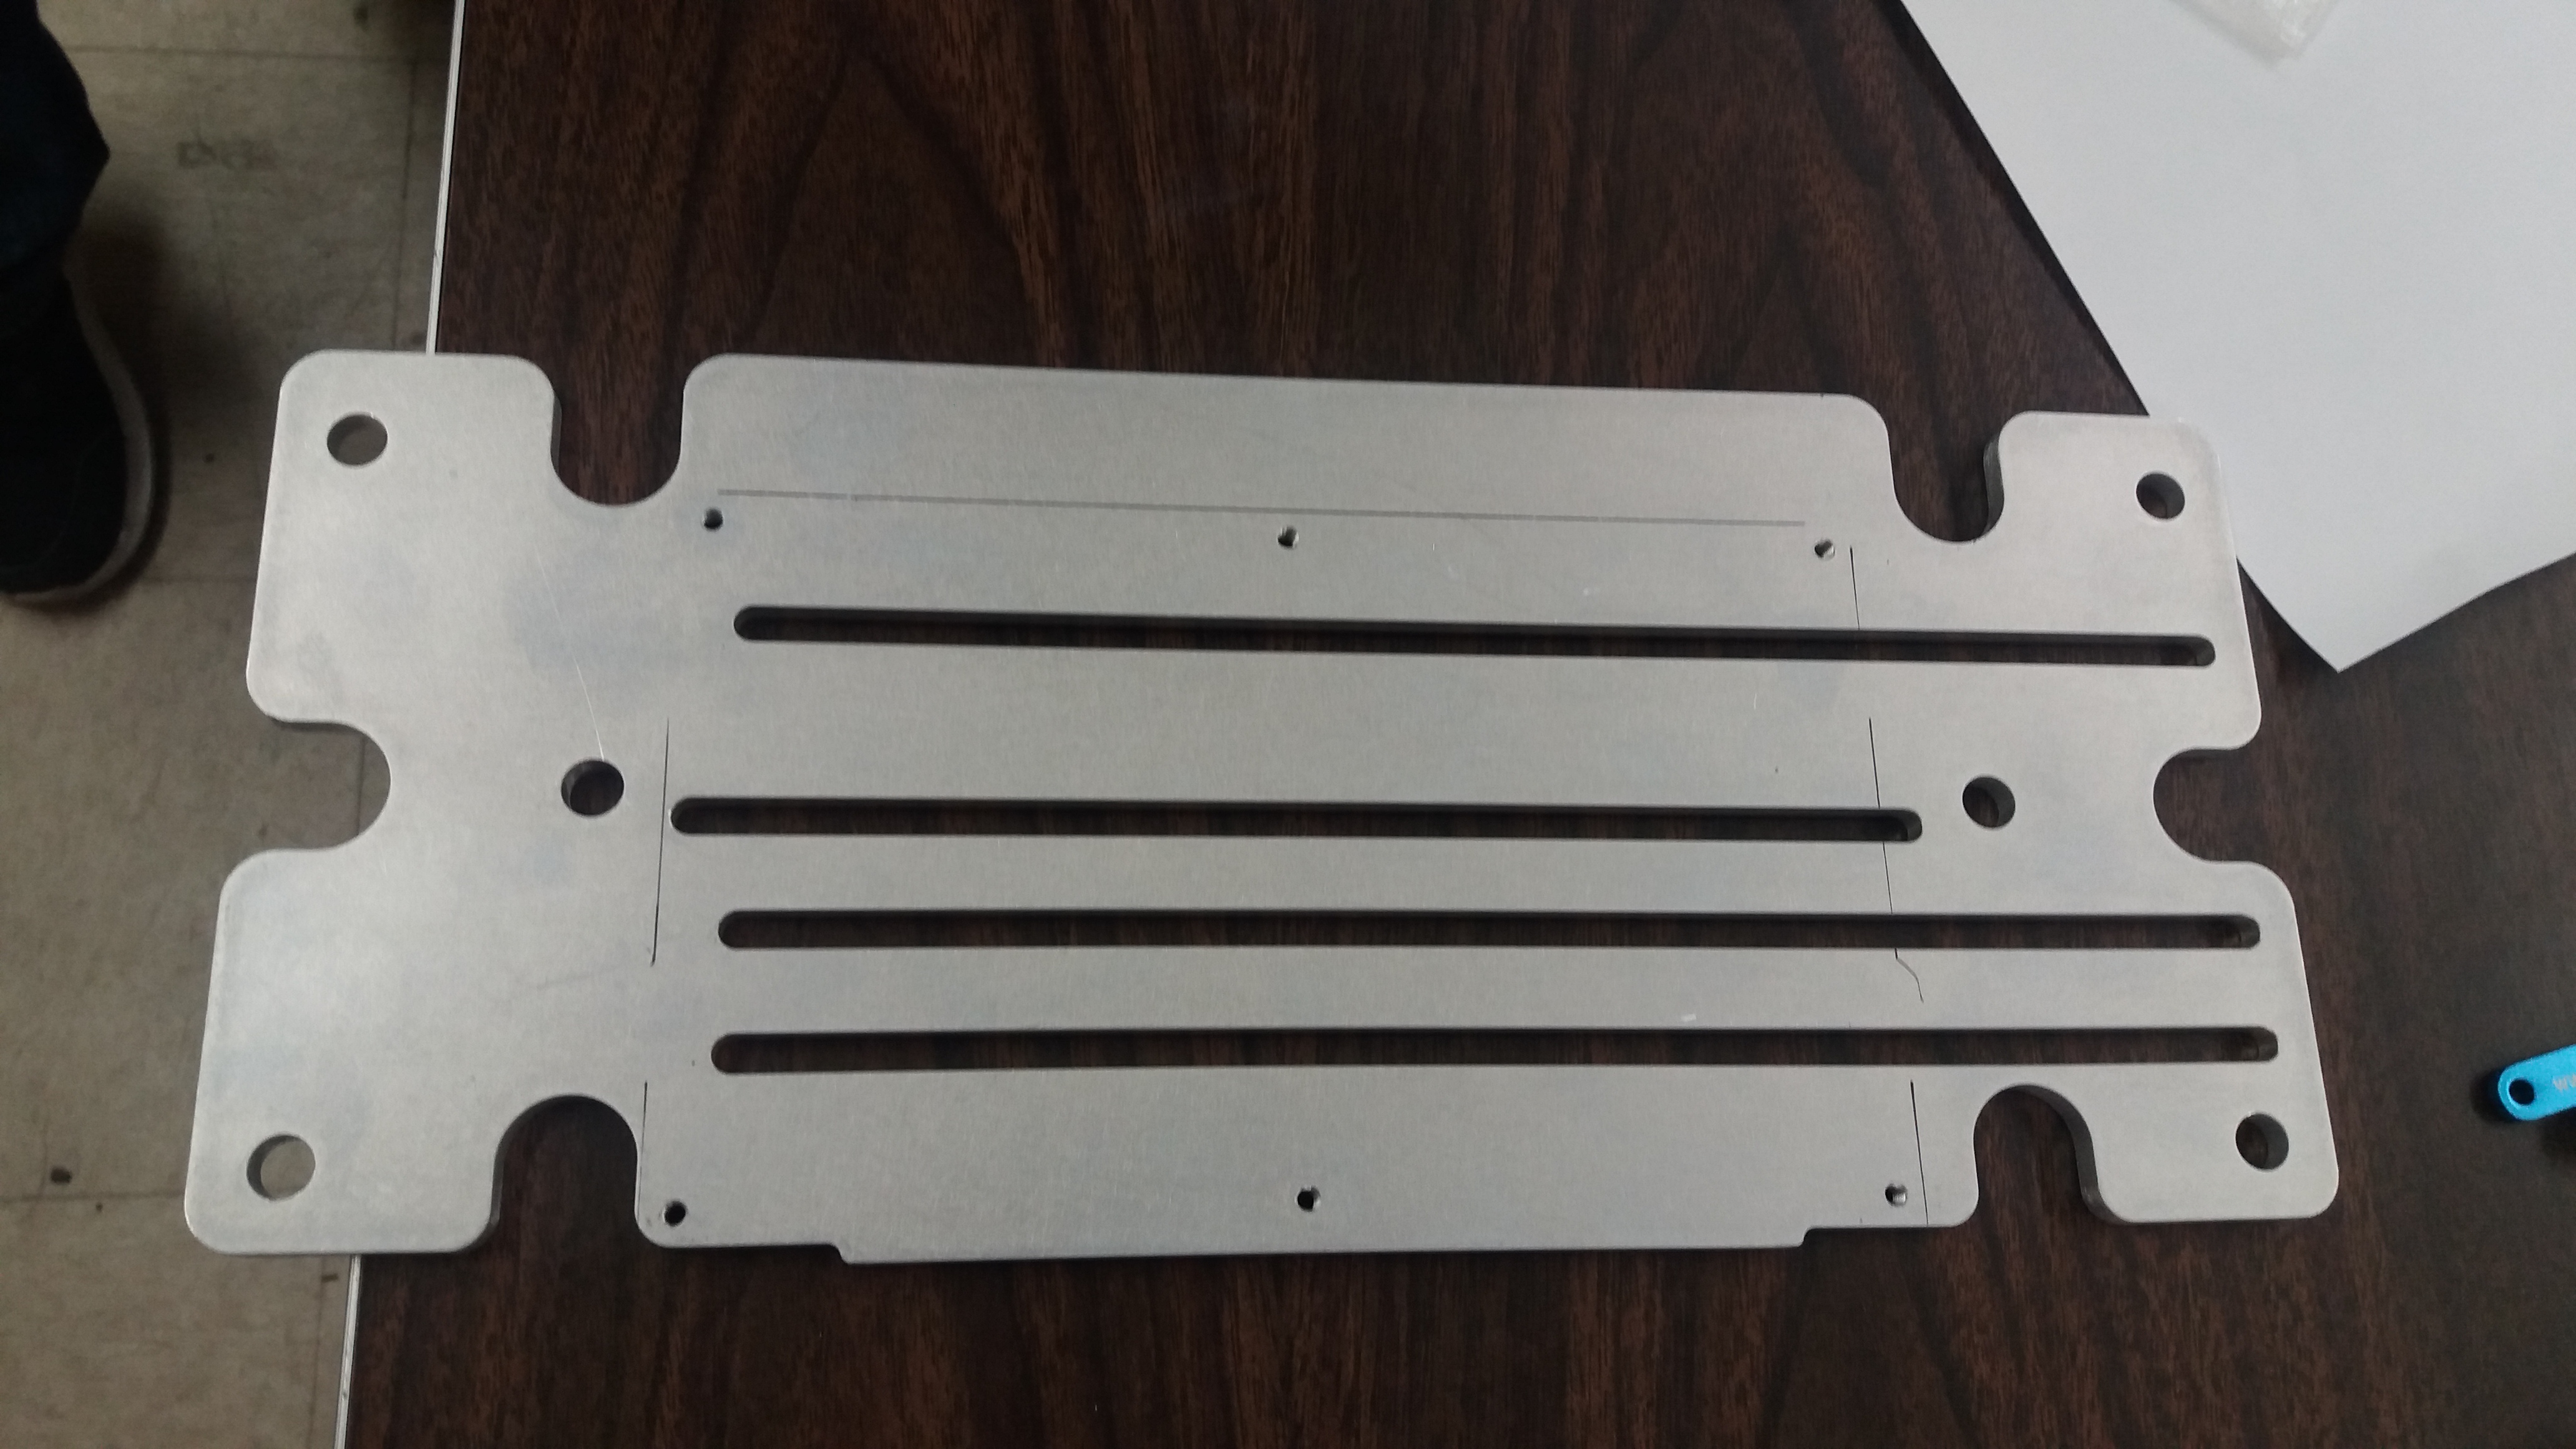
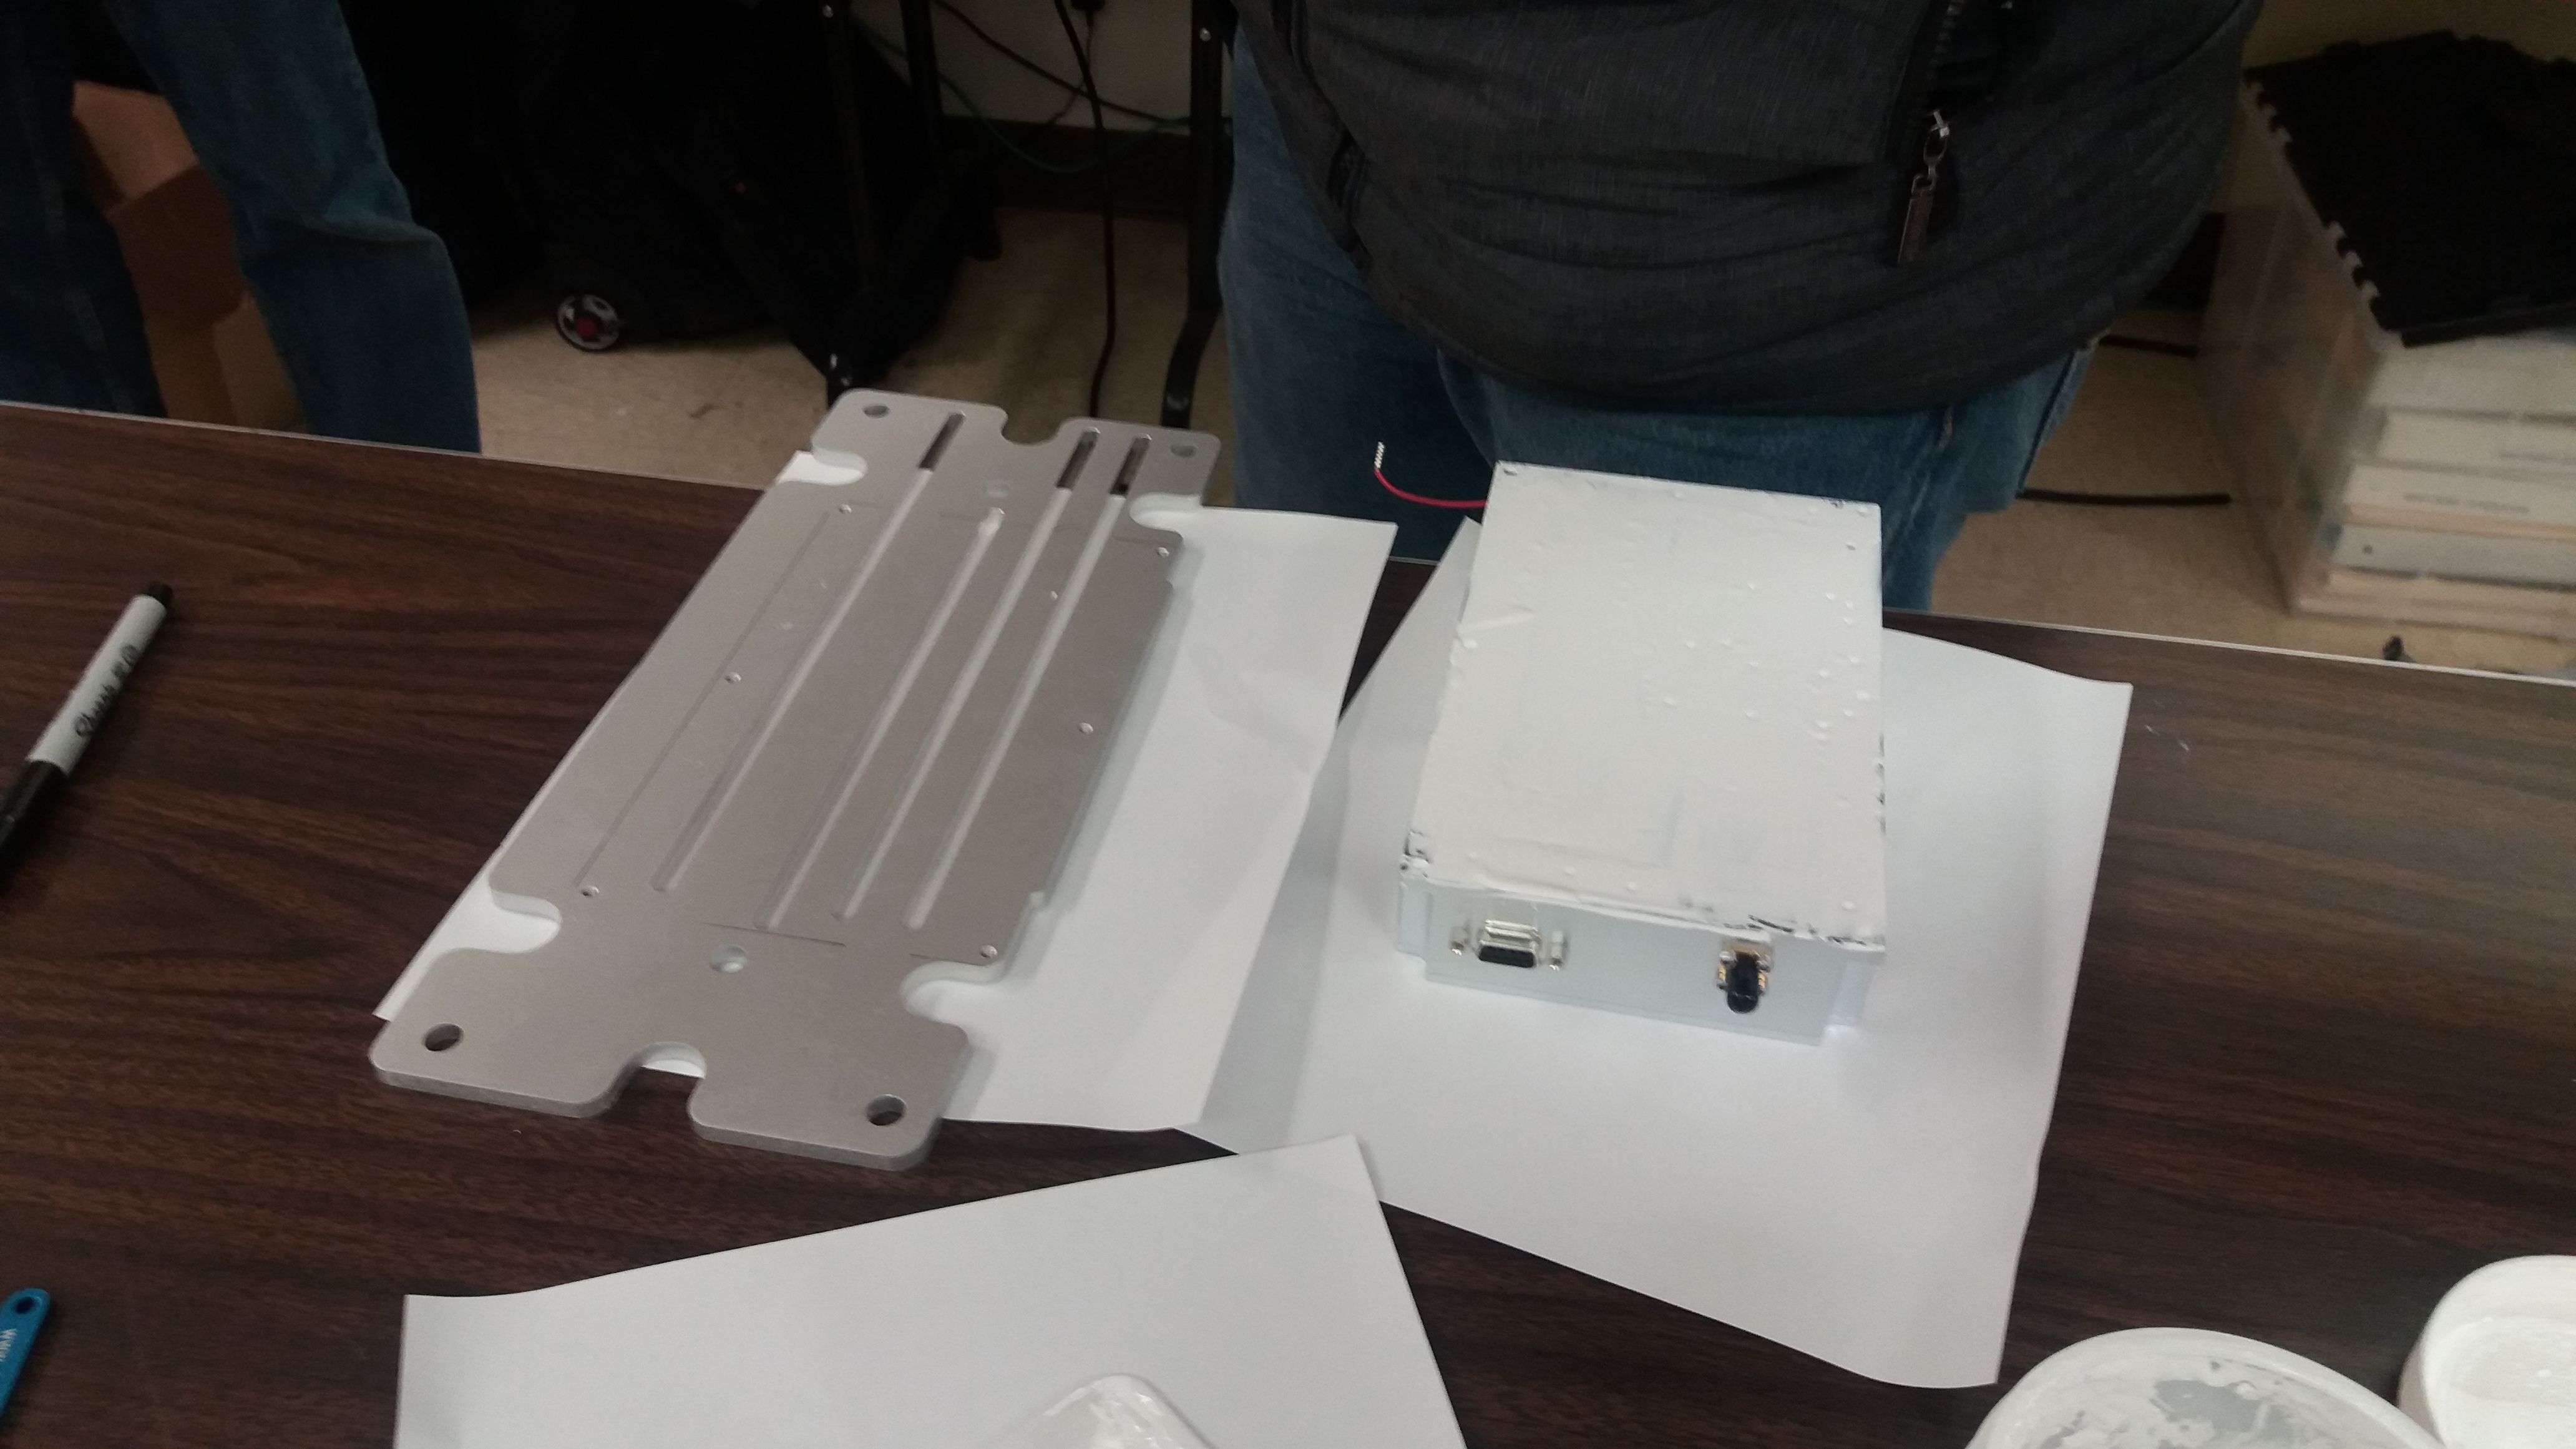
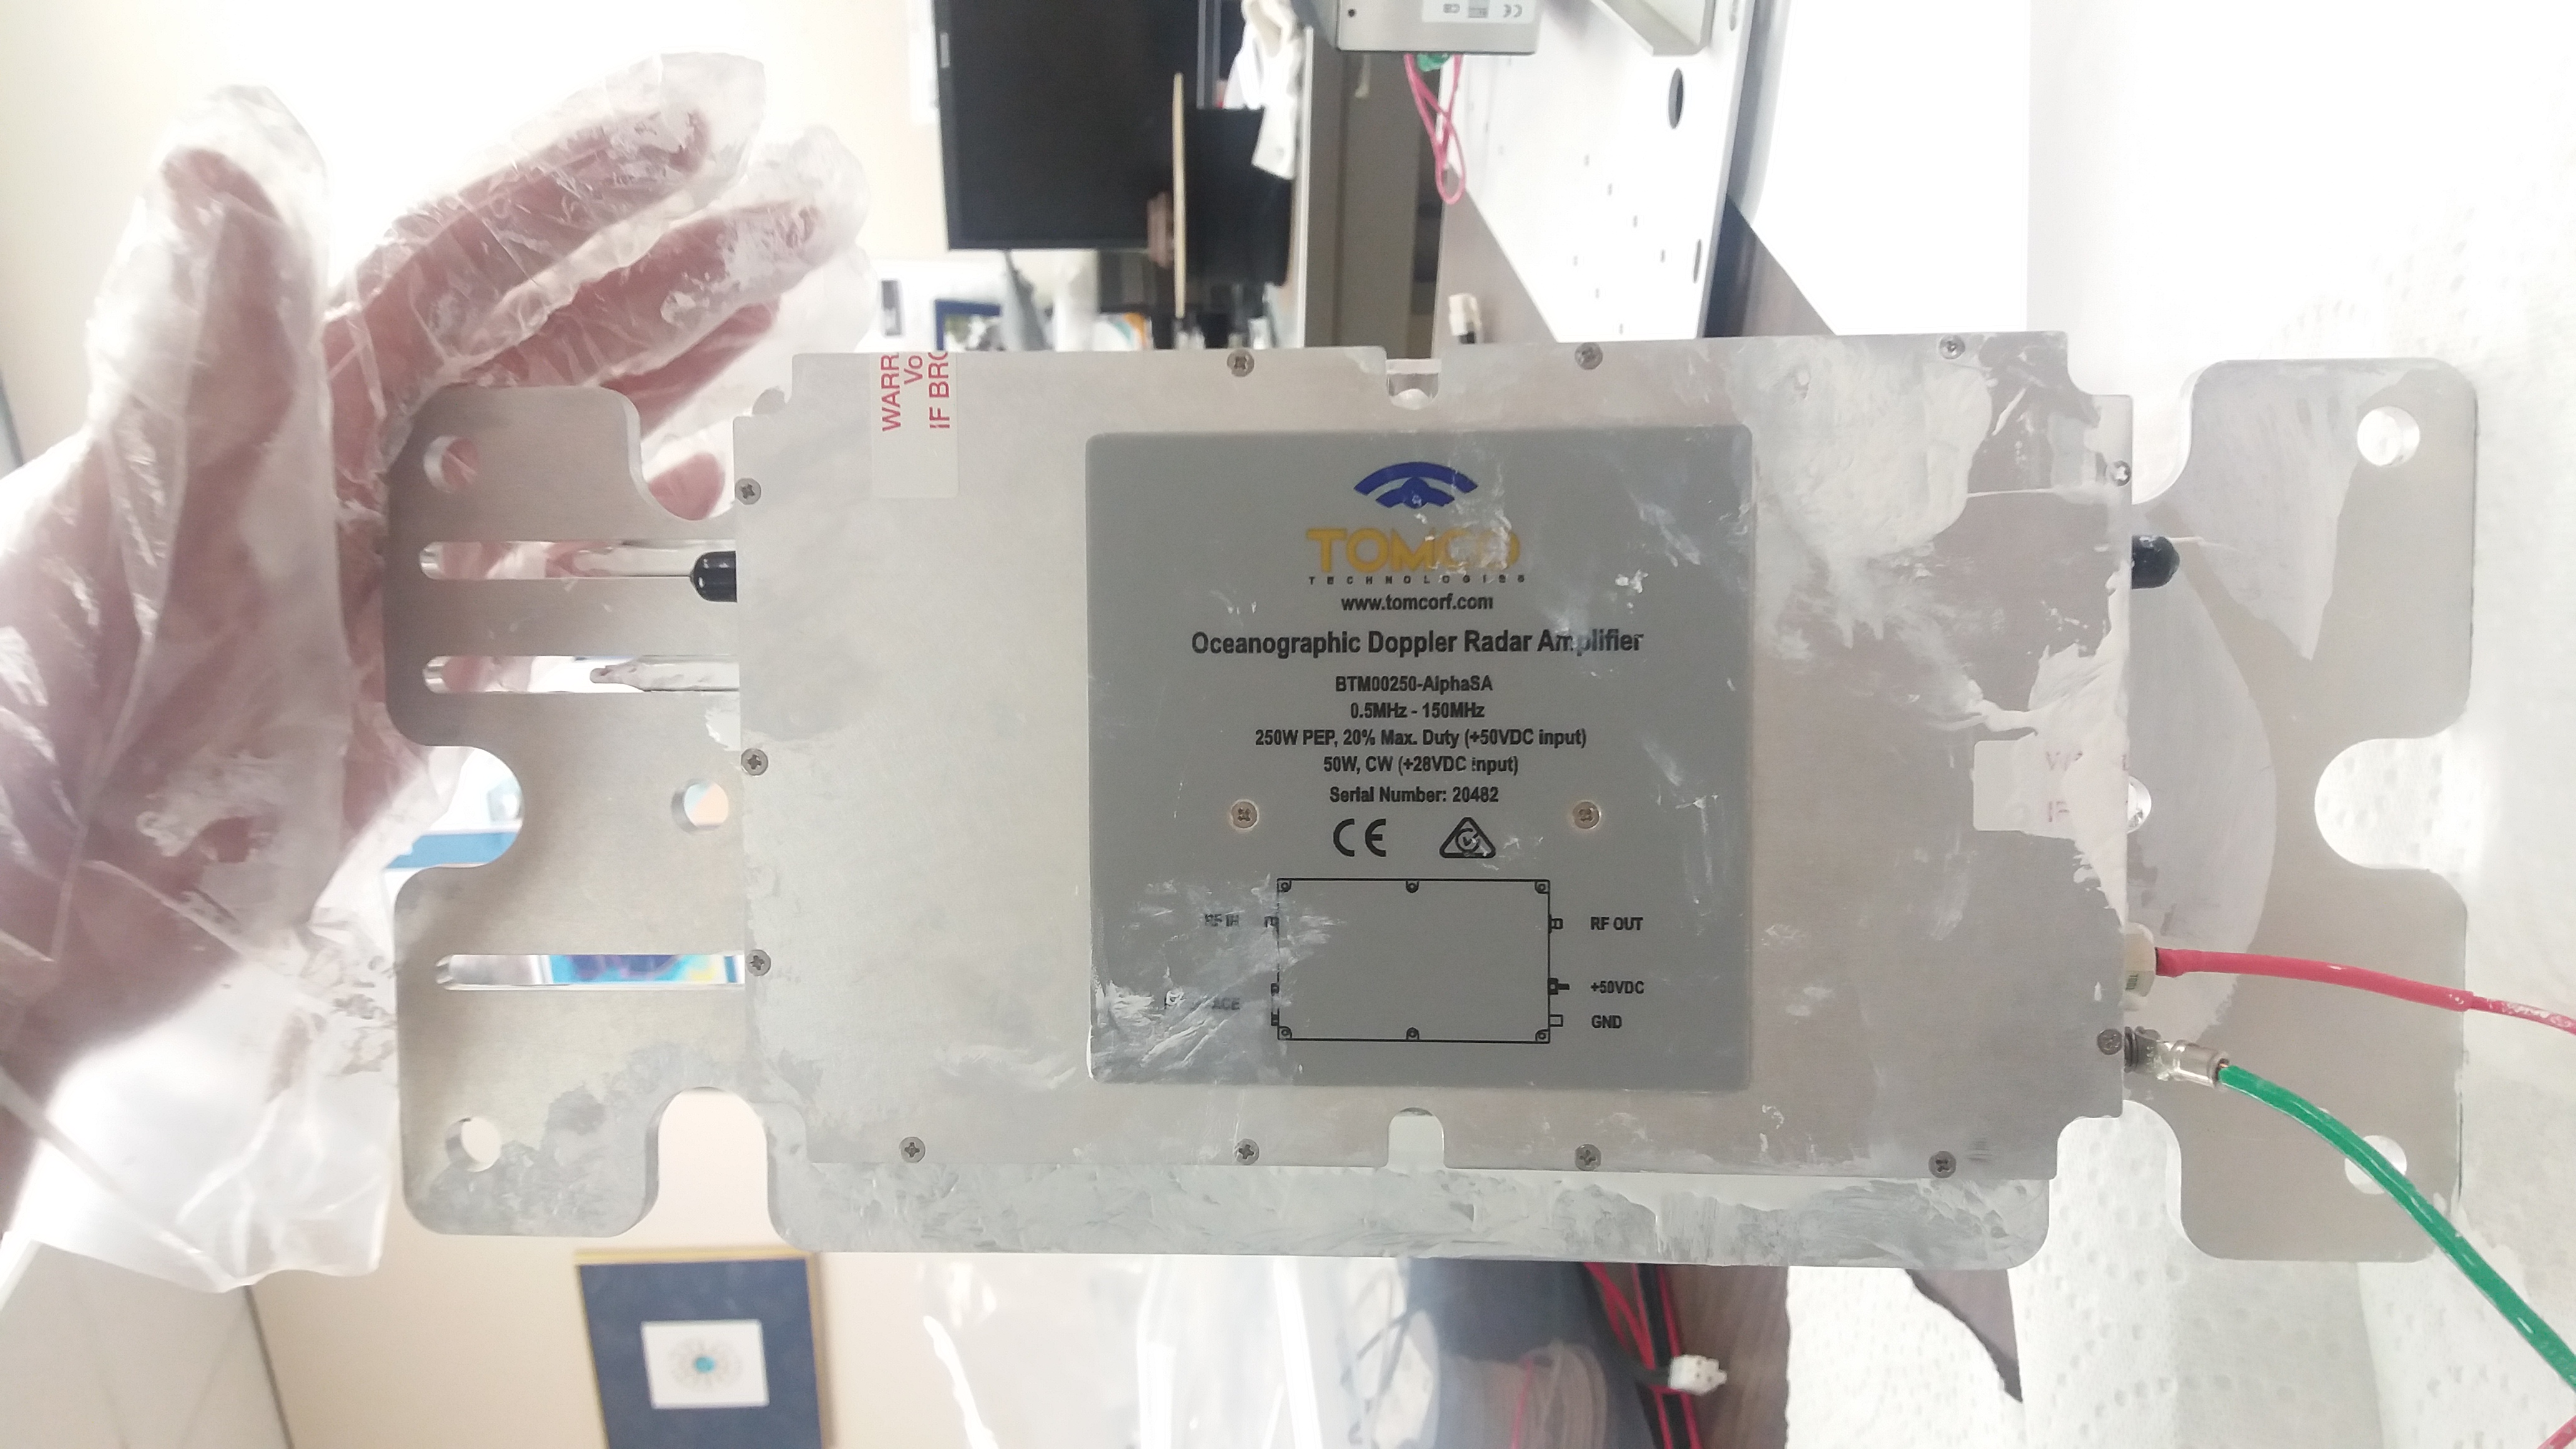
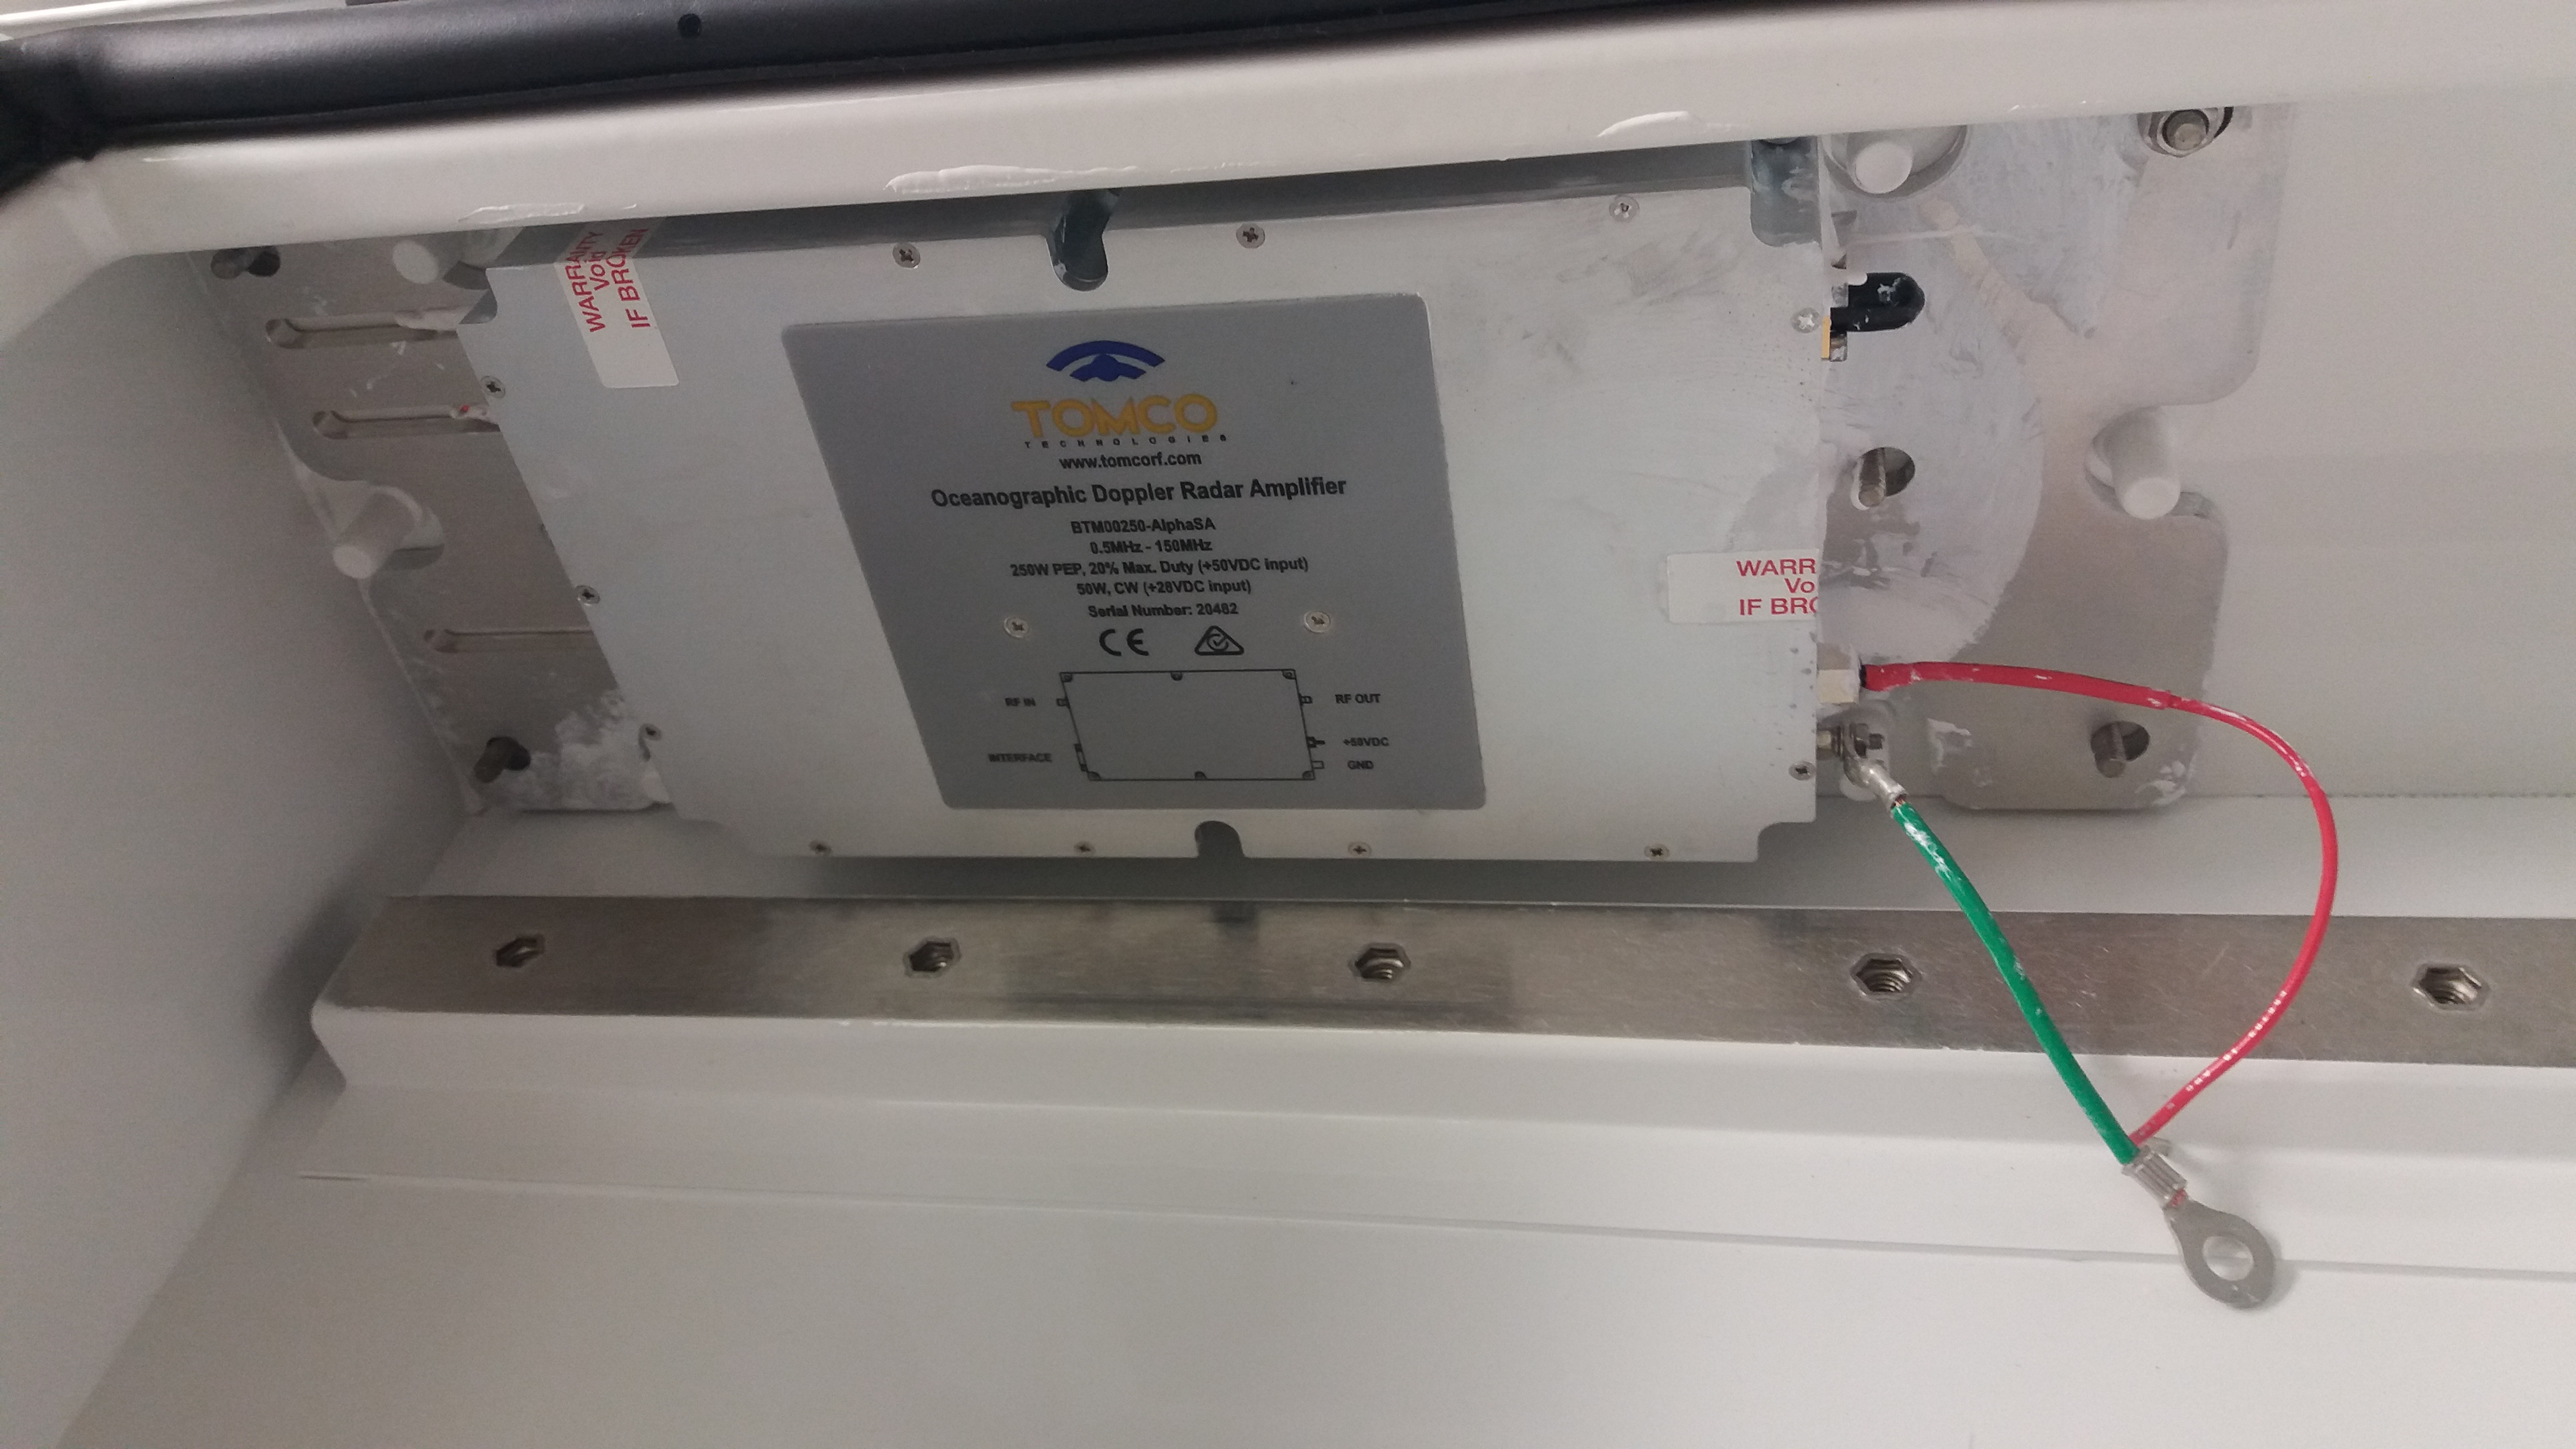
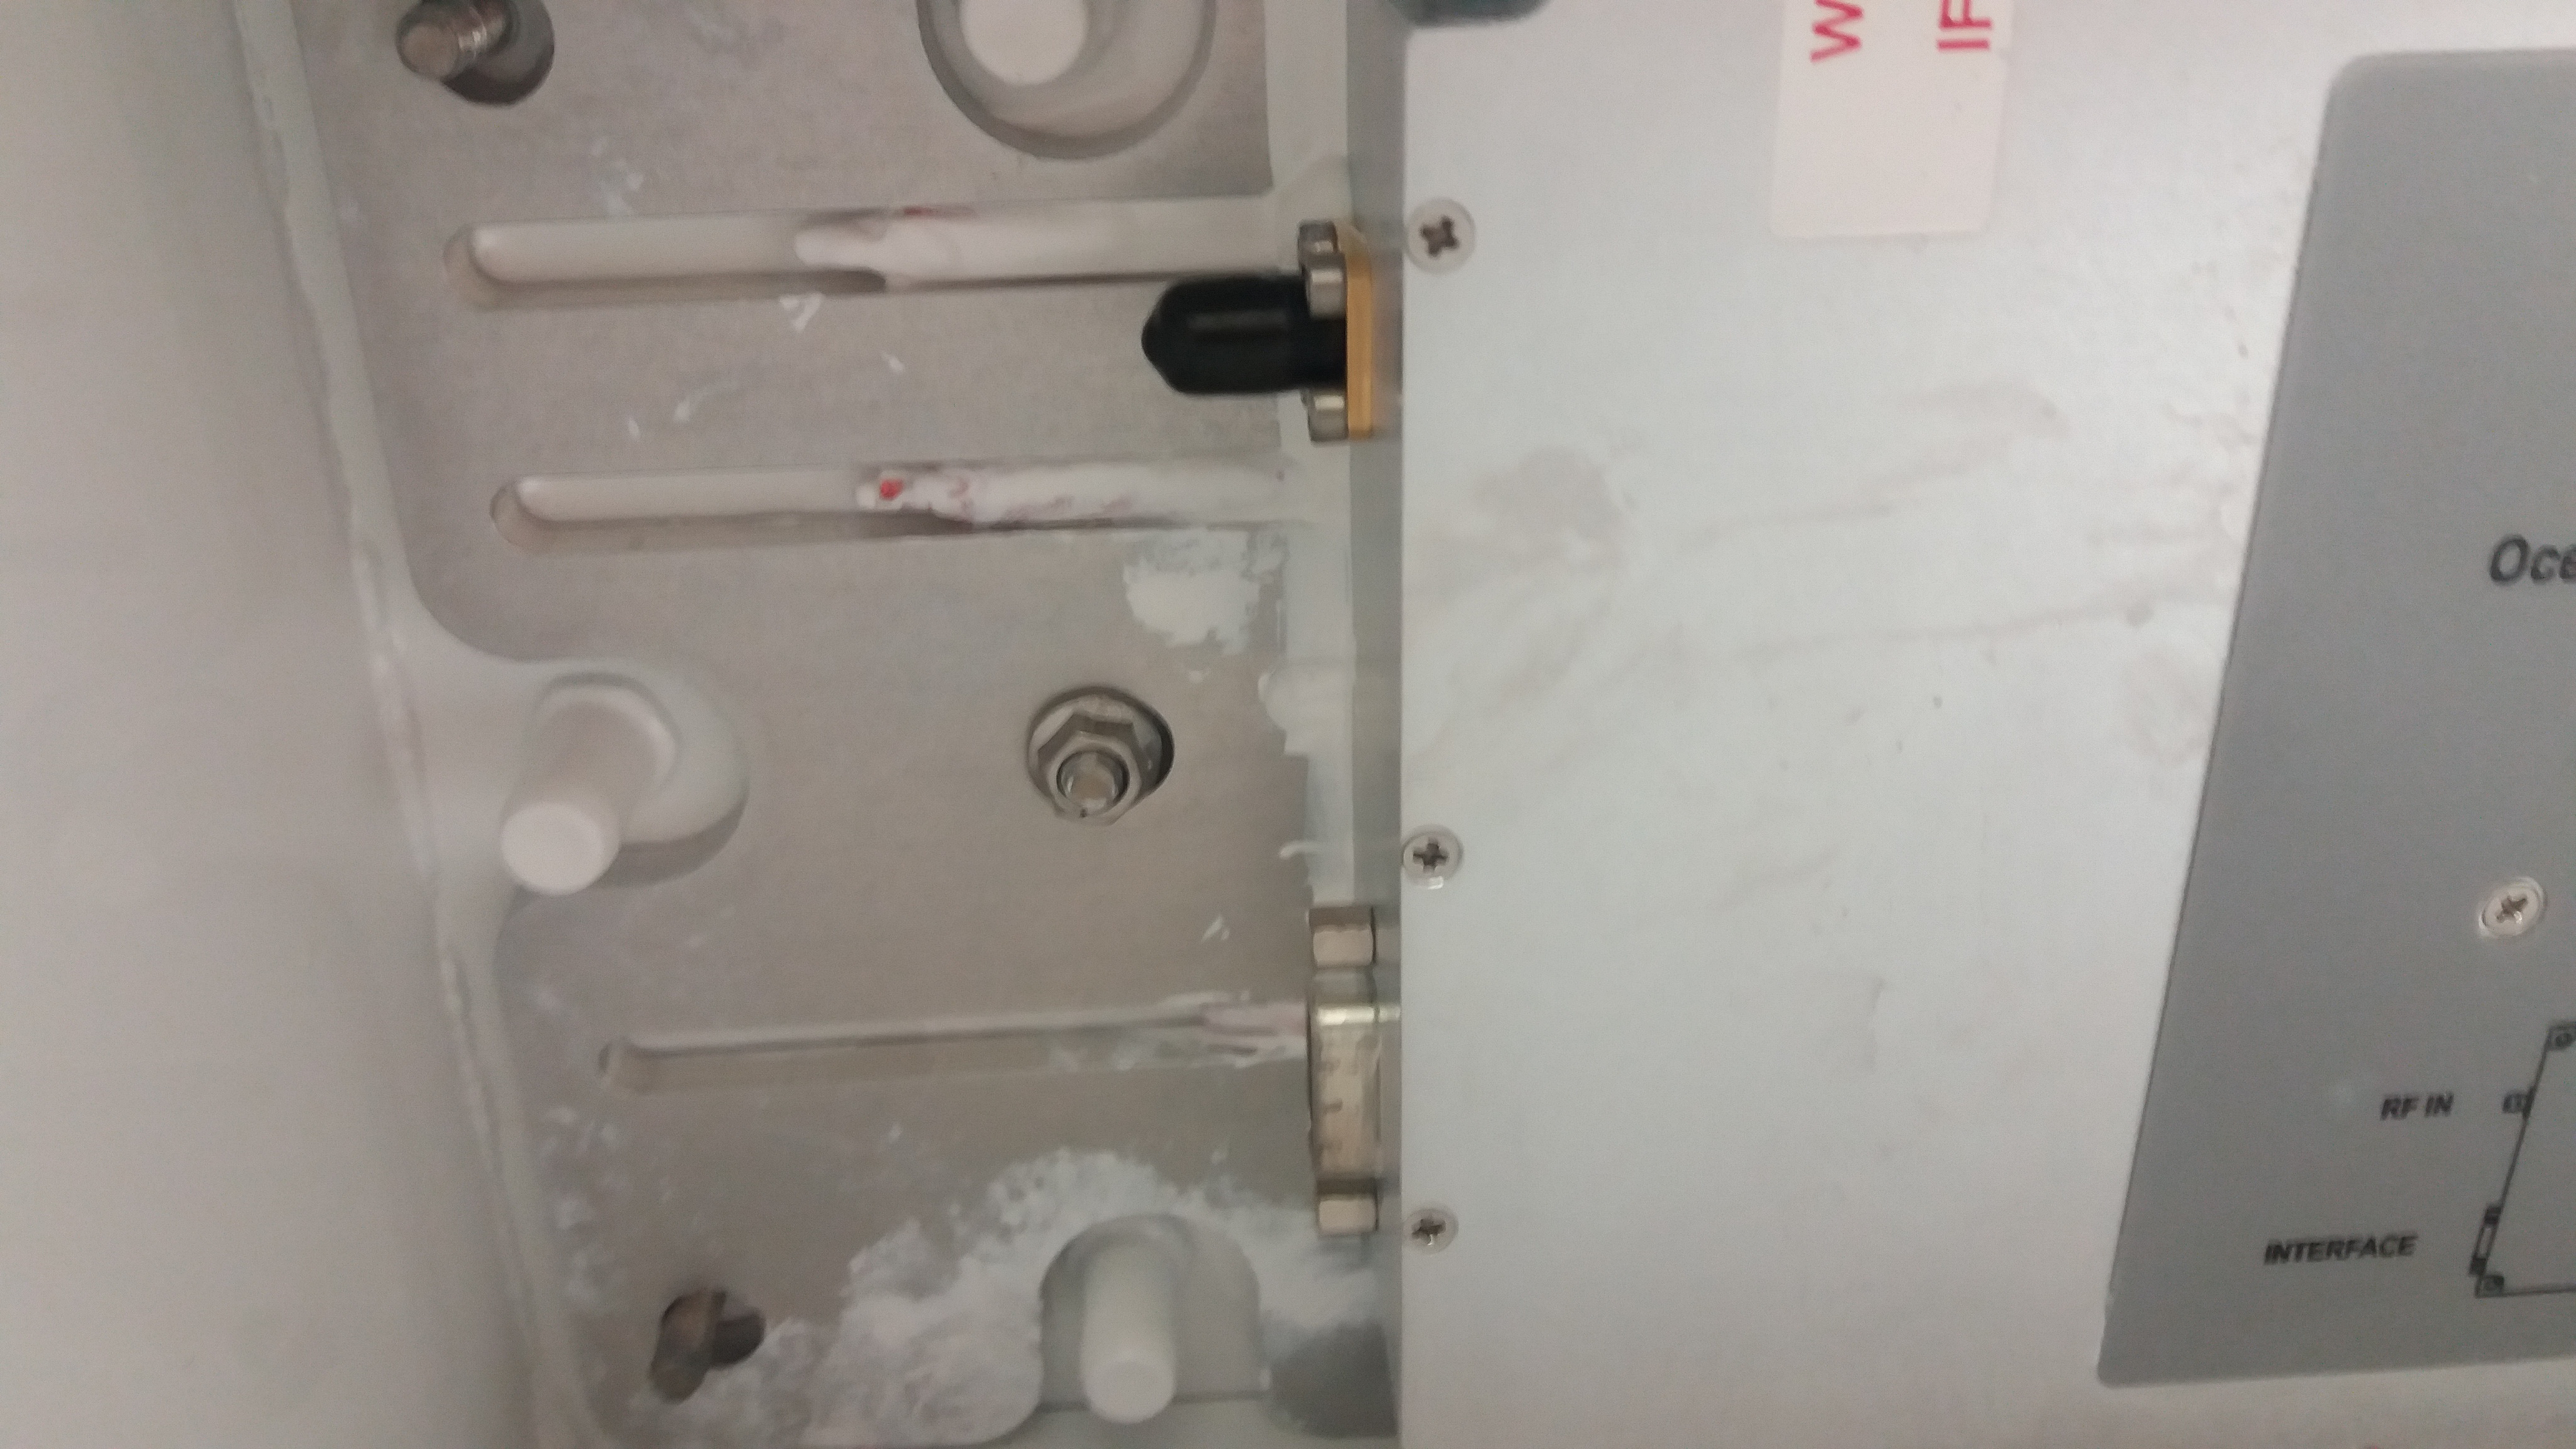
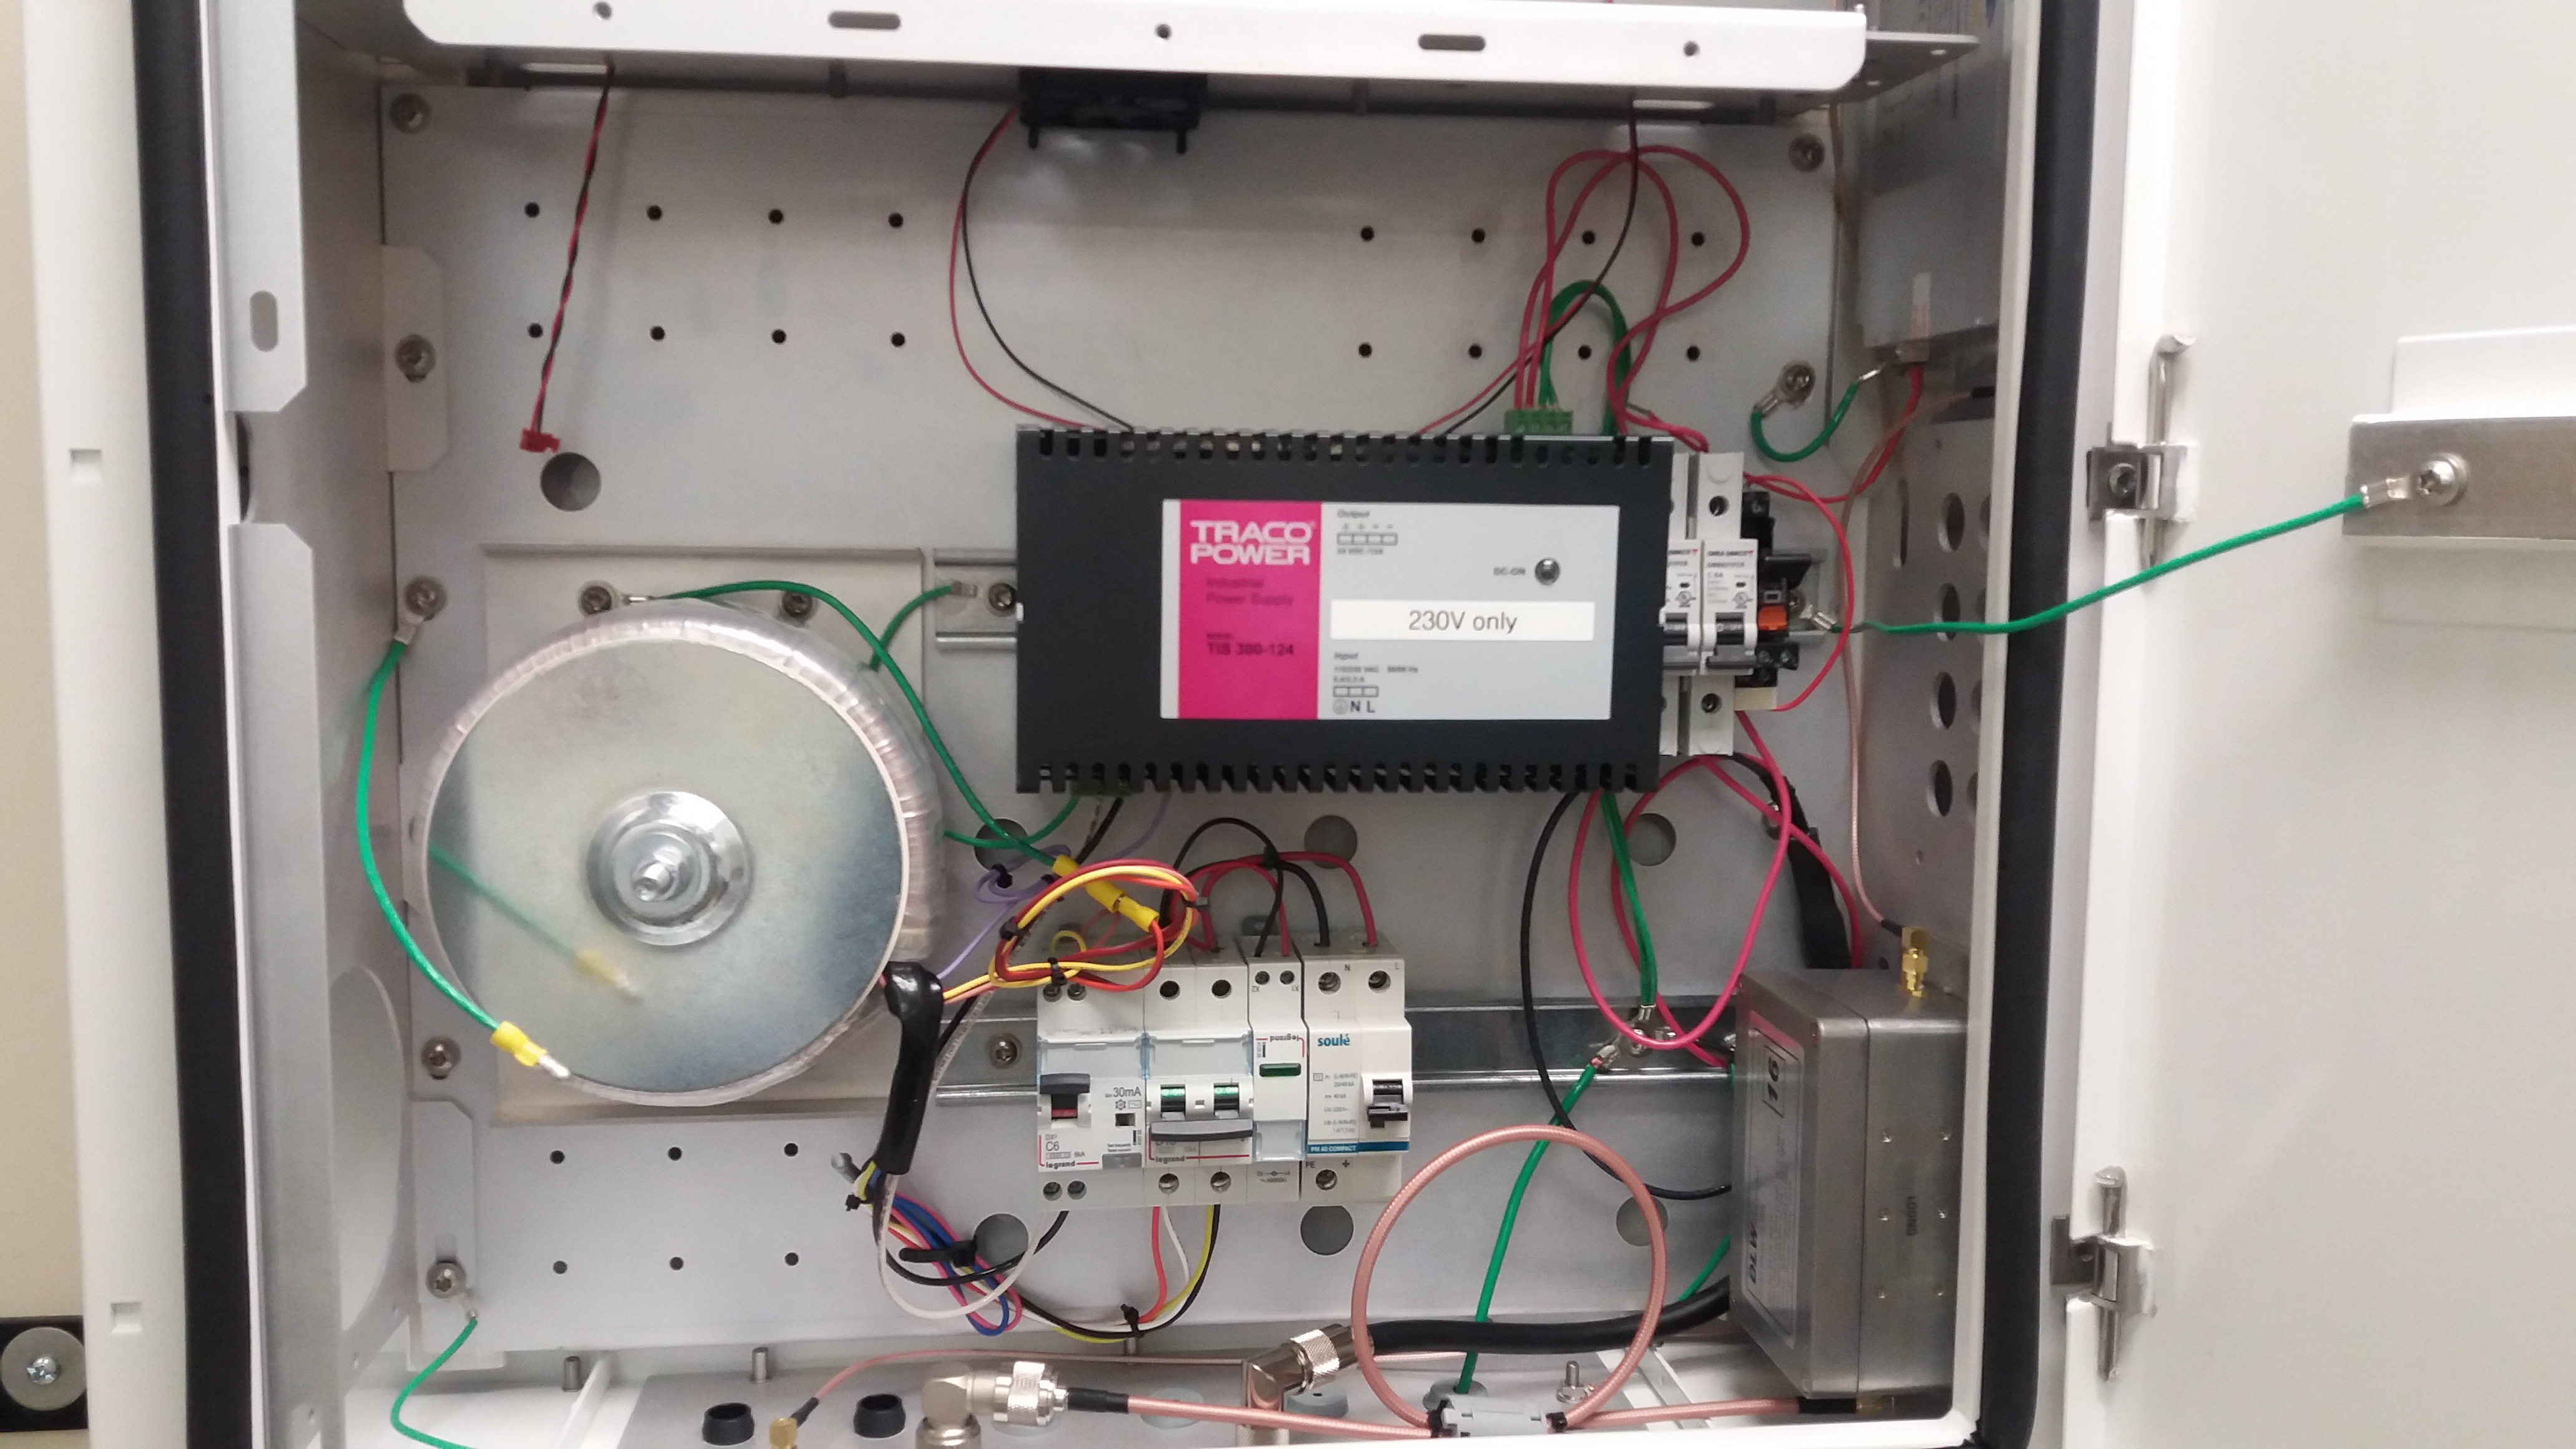
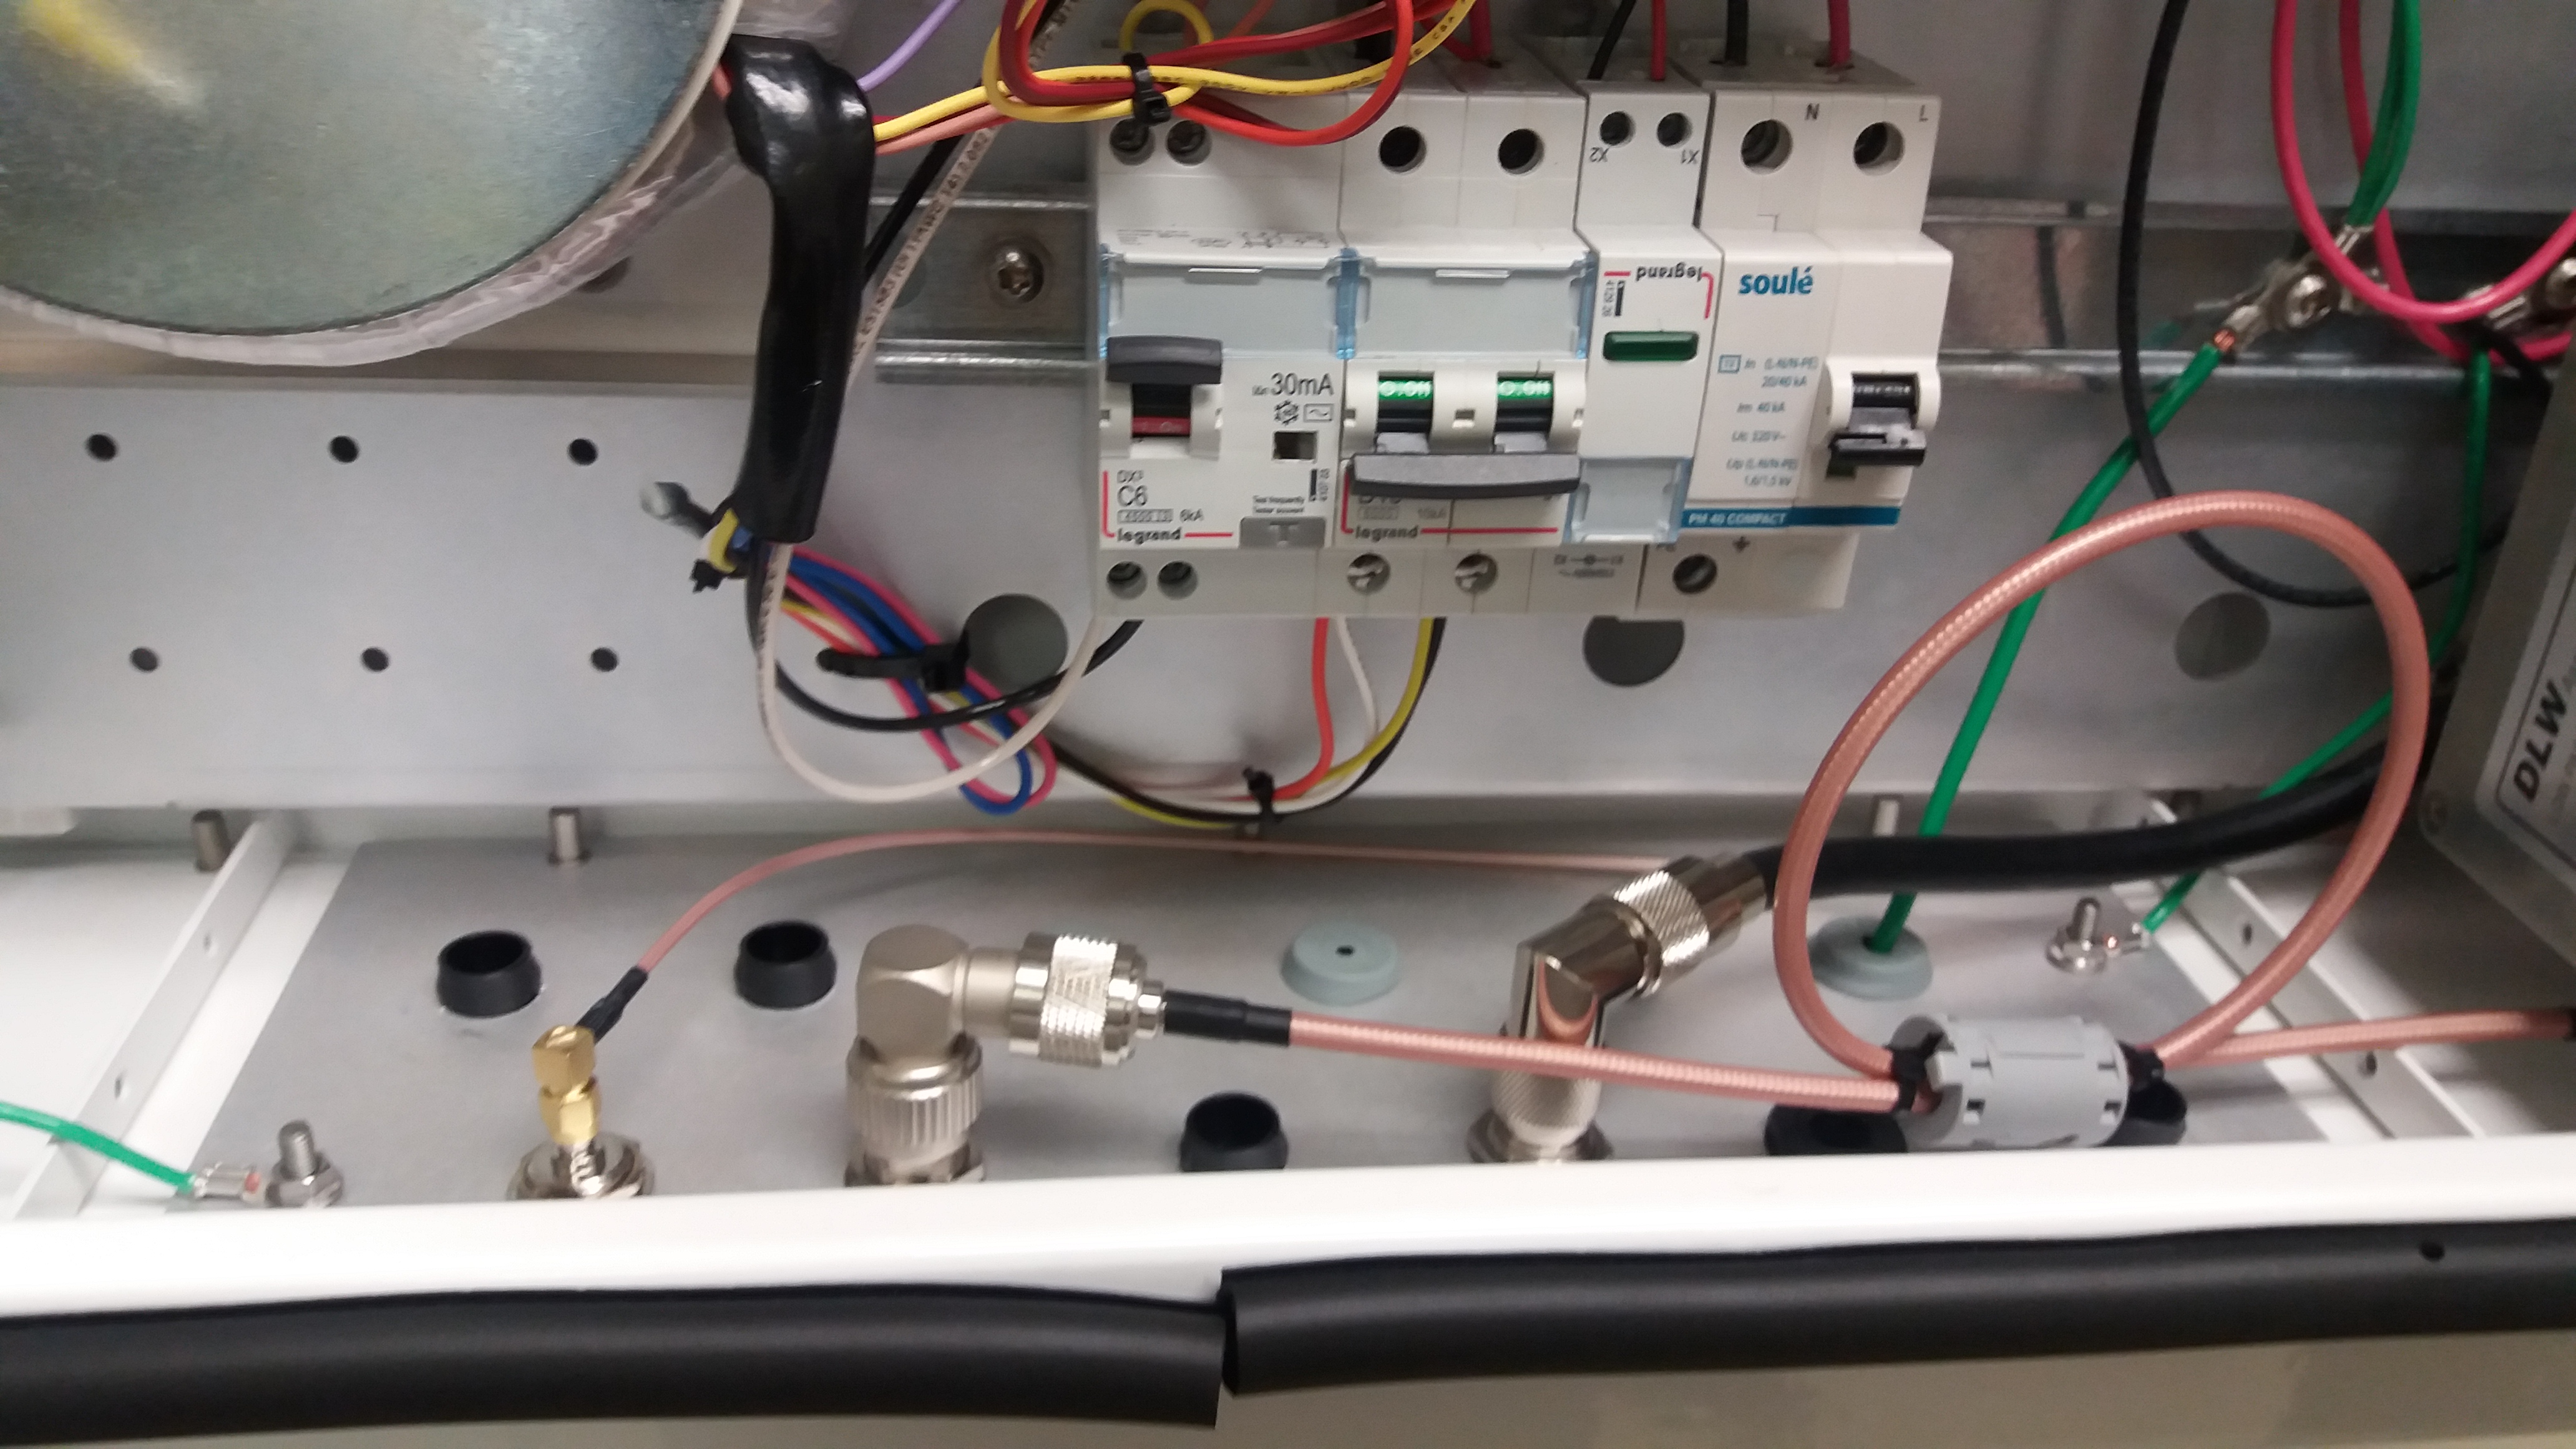
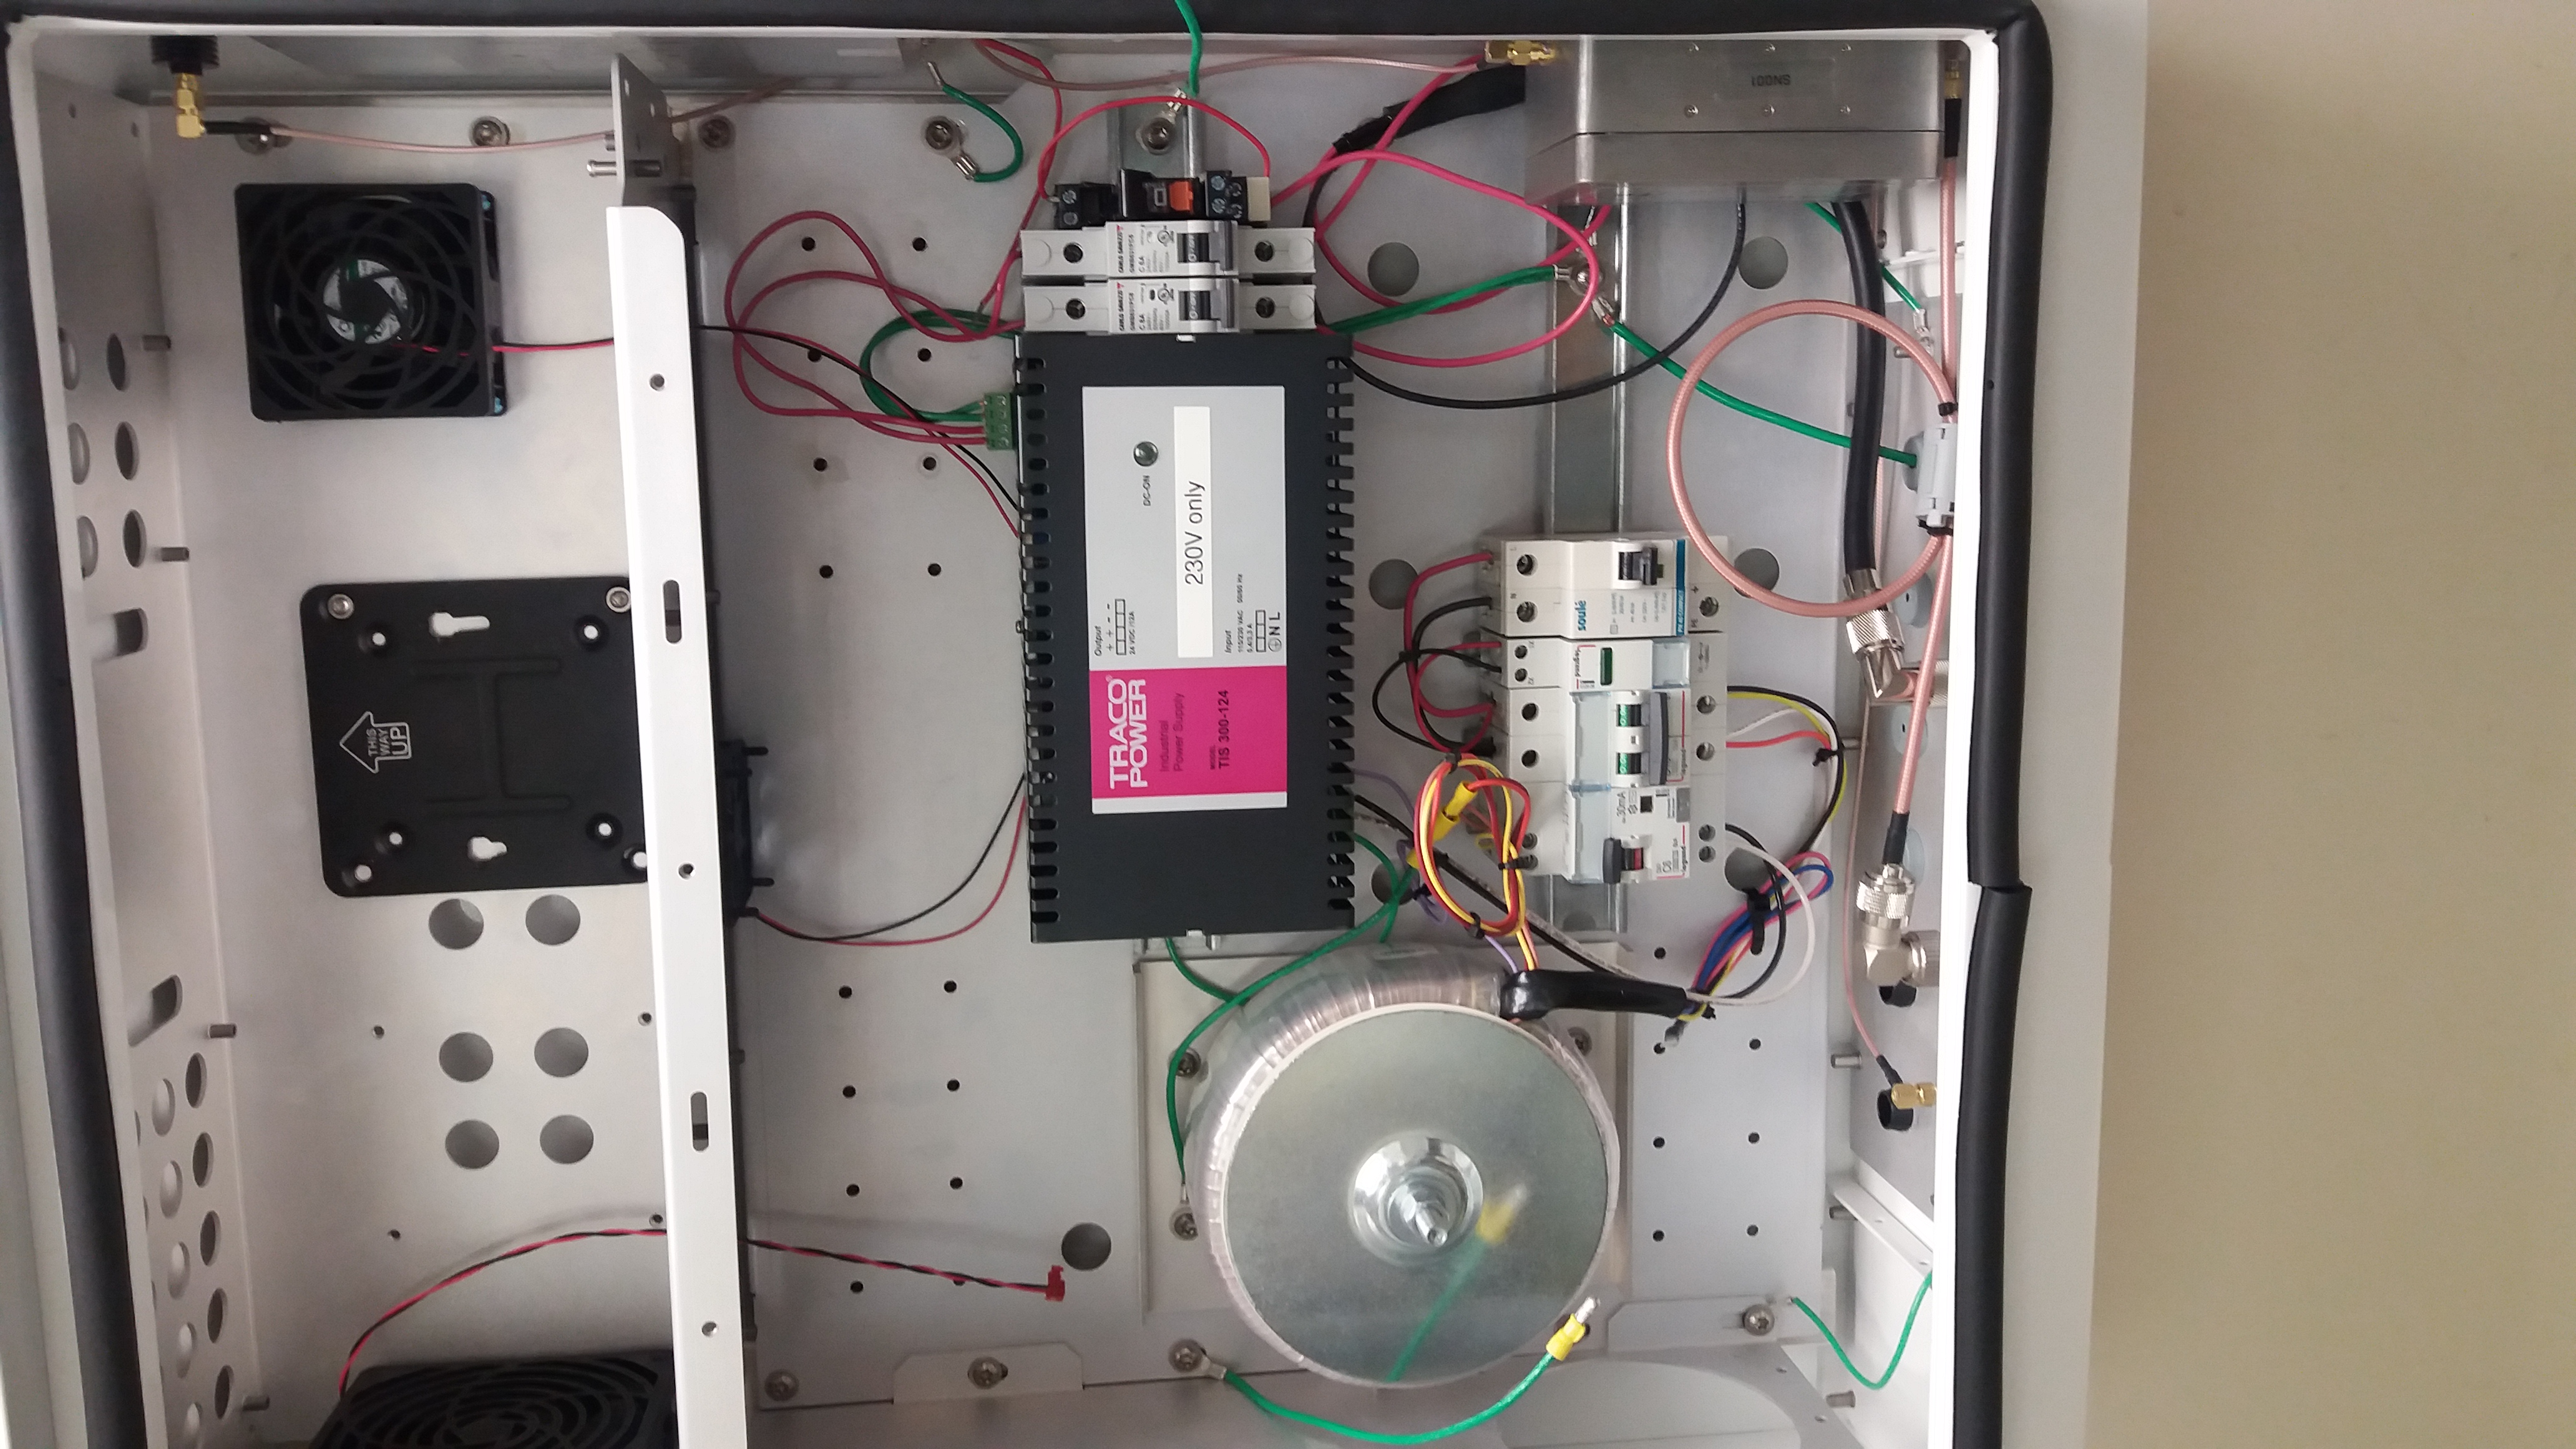
Edit - History - Print - Recent Changes - Search
Page last modified on March 31, 2024, at 12:35 am